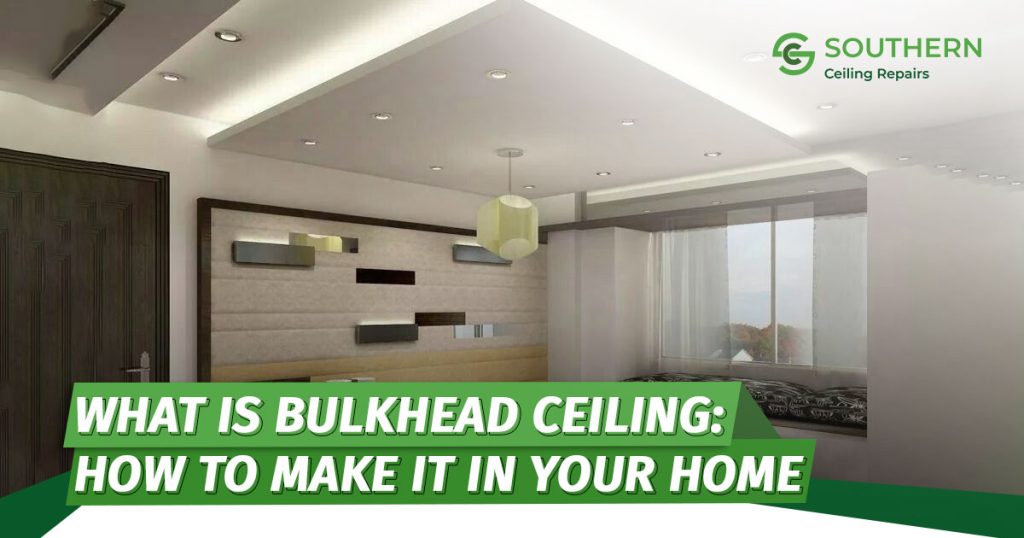
Ever wondered how to make a bulkhead ceiling? Well, you’re in the right place!
Bulkhead ceilings have become a go-to choice for modern homeowners, especially in Australia, for both their practical benefits and aesthetic appeal. In this comprehensive guide, we’ll walk you through everything you need to know about bulkhead ceilings, from understanding their purpose to the step-by-step process of creating one in your own home.
A bulkhead ceiling is essentially a lowered section of the ceiling that extends from the main ceiling, creating a transition between spaces. It’s like adding a stylish step or ledge up there!
But it’s not just about looks – bulkheads serve a practical purpose too. They hide things like lighting, plumbing, and air conditioning systems, giving your room a cleaner, more polished appearance.
Materials and Customisation
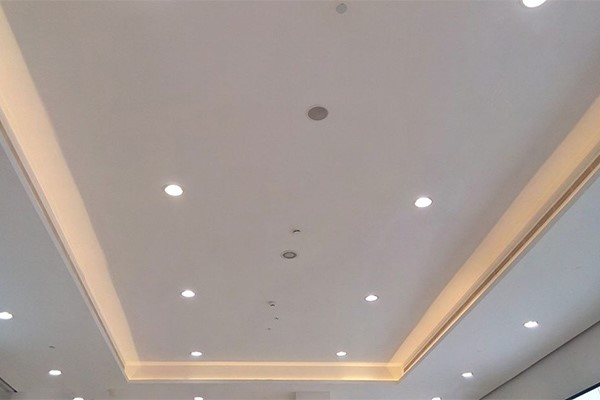
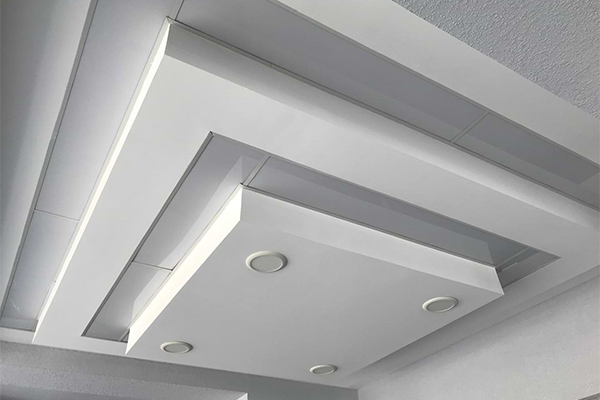
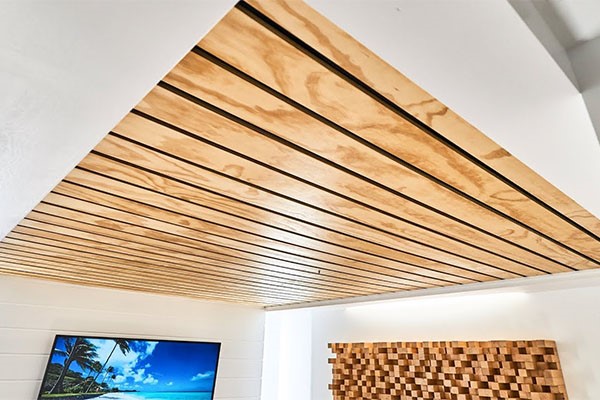
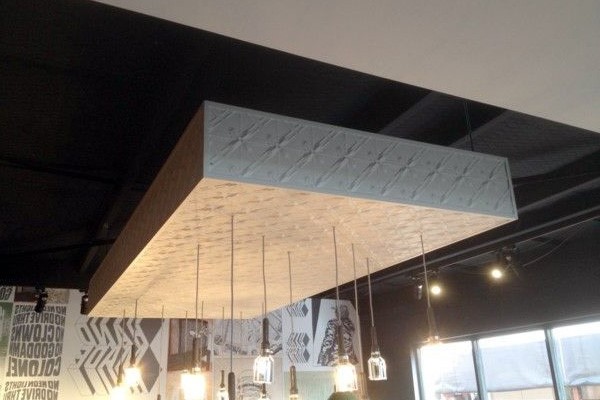
Now, let’s talk materials. Bulkheads are typically made using galvanised steel framing covered with plaster, gyprock, wood, or metal.
The cool thing is, that you can customise them into different shapes to fit your room’s layout and style. Think “U” or “L” shapes, vaults, barrels, or even drop-down designs – the sky’s the limit!
Benefits of Bulkhead Ceilings
So, why bother with a bulkhead ceiling? Well, besides hiding all those unsightly elements, they also improve the acoustics of a room, making it sound better.
Plus, they just look cool! Bulkheads add a touch of sophistication to any space, whether it’s your kitchen, basement, bathroom, or elsewhere in your home.
How to Make Bulkhead Ceiling
Now, let’s get down to business – here’s how to make a bulkhead ceiling in your home, specifically tailored for Western Australia:
Step 1: Framing the Bulkhead Structure
First things first, you’ll need to frame the bulkhead structure. This involves using timber or metal studs, which are secured to the ceiling joists or trusses above.
It’s like building a little frame within your ceiling!
Step 2: Installing the Bulkhead Ceiling
Once the framing is in place, it’s time to install the bulkhead ceiling. This is where you line the frame with plasterboard or other suitable materials to create a smooth surface.
Think of it like giving your bulkhead a nice, clean coat of paint.
Step 3: Incorporating Lighting
Lighting is key to making your bulkhead ceiling pop! You can integrate lighting fixtures directly into the design, like downlights or indirect lighting, to create a warm, ambient atmosphere in the room.
It’s all about setting the mood!
Step 4: Adding Finishing Touches
Last but not least, it’s time to add those finishing touches. Think decorative cornices or trims to give your bulkhead that polished, integrated look.
And don’t forget to paint it to match the surrounding ceiling and walls – consistency is key!
Finding Professional Assistance in Western Australia
If you’re feeling overwhelmed by the idea of tackling ceiling repairs on your own, fear not! Getting expert advice from seasoned professionals like Southern Ceiling Repairs, who specialise in emergency ceiling repair in Albany WA, can make the process much smoother and less stressful.
When it comes to setting up a bulkhead ceiling in your home, it’s crucial to have the right professionals by your side. We offer expert guidance to ensure proper installation and safety, even handling tasks like cornice repair in Denmark WA.
Have you ever noticed those sleek bulkhead ceilings in modern homes? They’re not just for looks; they serve a purpose too!
But remember, when your ceiling cracks, that’s when to worry. Looking to add a touch of elegance to your home?
Learn how to install plaster ceiling rose and trust us, you won’t regret it!
