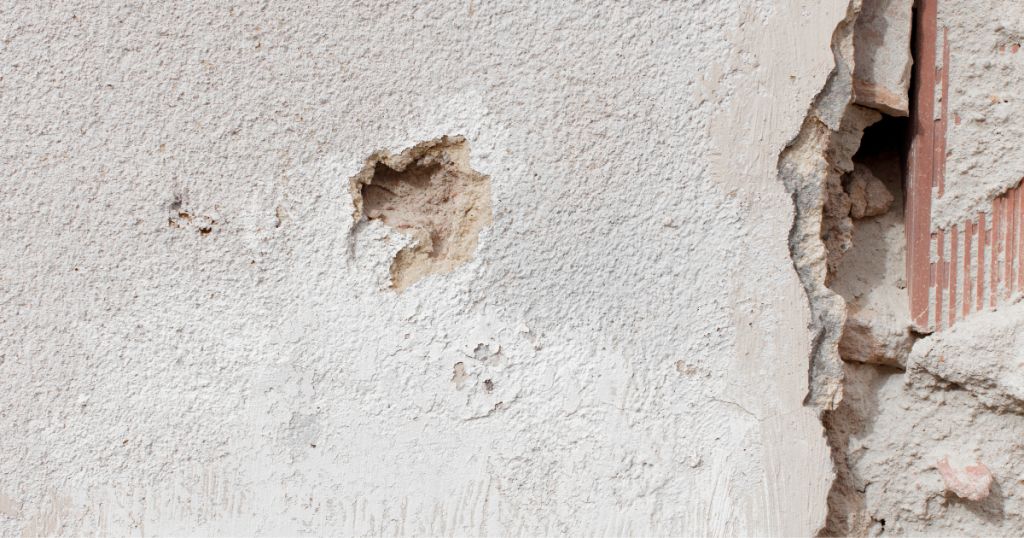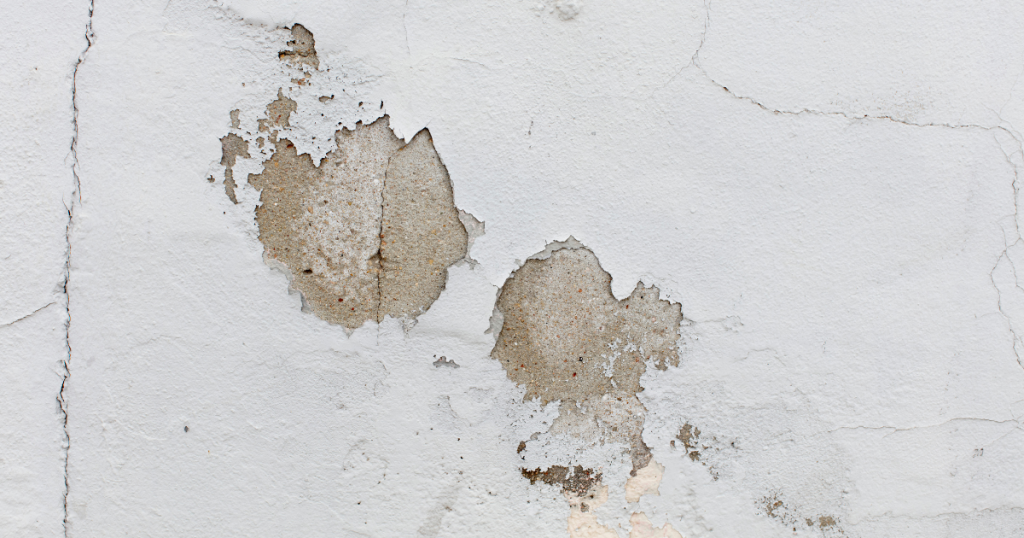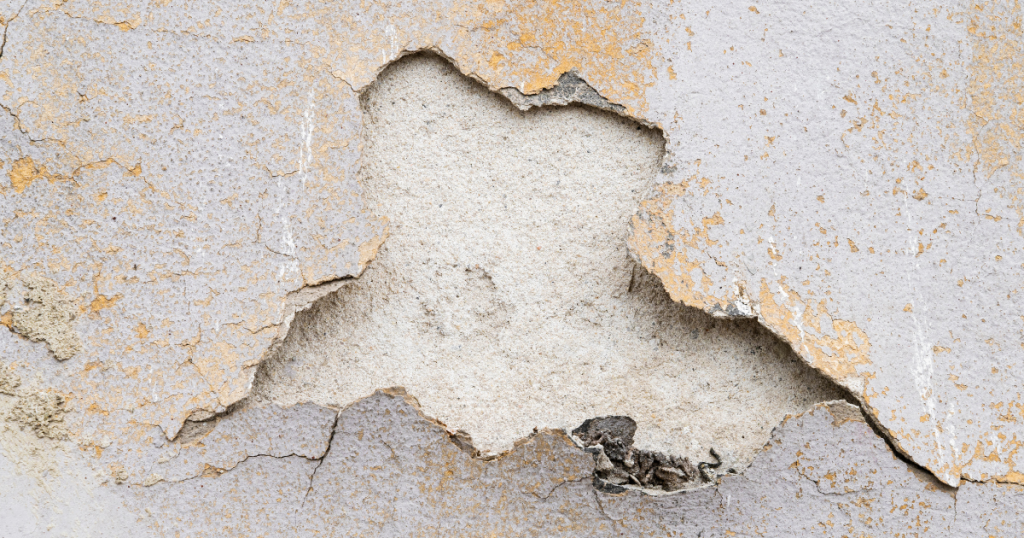
Holes in walls are a common household issue that can occur due to accidental damage, wear and tear, or moving furniture. While they might seem like a significant problem, repairing them can be surprisingly straightforward. With the right tools, materials, and a bit of patience, you can restore your walls to their original condition without hiring a professional.
Here, Southern Ceiling Repair’s ceiling repair expert outline three effective methods to repair holes in walls yourself, complete with step-by-step instructions and a list of tools you’ll need.
Tools and Materials You’ll Need
Before diving into the repair process, gather the following tools and materials to ensure a smooth experience:
- Spackle or joint compound
- Putty knife
- Sandpaper (medium and fine grit)
- Drywall patch kit
- Self-adhesive mesh tape
- Utility knife
- Drywall saw
- Screwdriver
- Paint and primer
- Paintbrush or roller
- Drop cloth
- Measuring tape
- Safety goggles
- Dust mask
Having these tools on hand will help you tackle any size of wall damage effectively.
Got holes in your walls? Let’s patch them perfectly — book your repair today!

Method 1: Fixing Small Holes with Spackle
Small wall imperfections like nail holes or screw marks might not seem like a big deal, but they can really stand out against an otherwise clean wall. Fortunately, these minor blemishes are the easiest to repair — and you don’t need a tradie to sort them out. With a bit of spackle and the right technique, your wall will look good as new in no time.
Here’s a step-by-step guide to getting it done right:
Step 1: Prep the Area Like a Pro
Before you apply any filler, it’s crucial to prepare the surface. Grab a putty knife and gently scrape around the hole to remove any loose paint, flaking plaster, or rough edges.
Next, take a damp cloth or sponge and wipe the area clean. This removes dust, debris, or grime that could prevent the spackle from adhering properly.
Step 2: Apply Spackle Smoothly
Use your putty knife to scoop out a small amount of spackle or joint compound — no need to go overboard.
Gently press the spackle into the hole, ensuring it fills the space completely. Then, use the edge of your knife to smooth over the patch, feathering the edges to blend it with the rest of the wall. The goal is to leave the area as flush as possible.
Pro Tip: Don’t worry if it’s not perfectly smooth on the first go — that’s what sanding is for.
Step 3: Let It Dry (Patience Pays Off)
Check the spackle packaging for drying times, but most will set in a few hours.
Avoid rushing this step — painting over damp filler can ruin your finish and cause cracking. Make sure the patch is completely dry before moving on.
Step 4: Sand to Perfection
Once dry, grab some fine-grit sandpaper (around 120–150 grit) and lightly sand the patched area until it’s completely level with the wall.
Be gentle — too much pressure can gouge the filler or scuff the surrounding paint.
Pro Tip: Run your fingers over the patch. If it feels seamless, it’s ready for paint.
Step 5: Prime and Paint
Start by applying a small amount of primer over the patched spot. This helps the topcoat adhere better and prevents a dull or uneven finish.
Once the primer dries, paint the area to match your wall colour. If you have the original paint on hand, even better — otherwise, get a colour match done at your local hardware store.

Method 2: Repairing Medium-Sized Holes with a Drywall Patch Kit
Medium-sized holes — about the size of a doorknob or larger — need more than just a dab of spackle. These require a bit more effort, but with a drywall patch kit, you can still tackle the job like a seasoned DIYer. These kits are readily available at Bunnings or your local hardware store and typically include everything you need: a metal or mesh patch, compound, and sometimes even a mini putty knife.
Here’s how to get it done properly:
Step 1: Clean Up the Hole
First, make sure the hole has smooth, clean edges. Use a utility knife to trim any loose plaster or jagged edges around the damaged area. This ensures your patch adheres firmly and lays flat.
Then, give the area a quick wipe with a damp cloth to remove dust and debris — this helps the adhesive stick properly.
Step 2: Apply the Patch
Most drywall patch kits come with a self-adhesive mesh or metal patch. Peel off the backing and press the patch firmly over the hole, making sure it’s centred and flat against the wall.
Pro Tip: If you’re using a metal patch, the rigid backing makes it ideal for supporting slightly larger holes and reduces the chance of sagging.
Step 3: Cover with Joint Compound
Use a putty knife or drywall trowel to apply joint compound (sometimes called “mud”) over the patch. Spread it generously, covering the patch and feathering the edges outward to blend with the surrounding wall.
Let the first coat dry completely — usually a few hours or overnight — then apply a second thinner coat, smoothing out any unevenness.
Step 4: Sand it Smooth
Once the compound is dry, use fine-grit sandpaper to smooth the area. Your goal is to make the patched section disappear into the wall. Wipe away any dust with a clean cloth.
Pro Tip: Shine a torch sideways across the surface — it’ll reveal any uneven spots needing extra sanding.
Step 5: Prime and Paint
Just like with small repairs, apply primer over the patched area before you paint. This prevents flashing and ensures your topcoat looks uniform.
Once the primer’s dry, paint the repaired area to match your existing wall — and you’re done!

Method 3: Fixing Large Holes with Drywall Replacement
When it comes to large holes — think fist-sized or bigger — the fix is a bit more involved. These are the types of holes often caused by accidents, heavy impacts, or poor installation. At this stage, a quick patch job won’t do. But don’t stress — replacing a section of drywall is totally doable with some basic tools, patience, and a steady hand.
Here’s how to get it sorted like a pro.
Step 1: Cut a Clean, Square Opening
Start by using a utility knife or plasterboard saw to cut around the damaged area, forming a clean, square or rectangular shape. Don’t just patch over rough edges — clean lines make measuring, fitting, and blending a whole lot easier.
Pro Tip: Use a level or ruler to guide your cuts. The cleaner the hole, the easier the patch.
Step 2: Prepare a New Drywall Piece
Measure the dimensions of the hole you just cut, and use those measurements to cut a new piece of drywall or plasterboard (standard thickness is usually 10mm or 13mm in Aussie homes).
Cut the replacement using a sharp utility knife, scoring the top layer and snapping it back cleanly.
Step 3: Install Timber Supports (If Needed)
If the hole is too large for the new drywall to hold on its own, you’ll need to secure timber backing supports behind the opening. Slide small strips of timber batten (like 2×1 pine) behind the hole and screw them into place through the existing drywall.
Pro Tip: Leave enough overlap on each side for the new patch to be screwed in securely.
Step 4: Secure the Patch
Place the new drywall patch into the opening and screw it into the timber backing (or wall studs if available) using drywall screws.
Ensure it sits flush with the wall. If it’s slightly recessed, that’s okay — joint compound will level it.
Step 5: Tape the Seams
Apply mesh drywall tape or paper tape over the seams where the new patch meets the existing wall. This prevents cracks forming along the joint lines and helps blend the repair seamlessly.
Step 6: Apply Joint Compound in Layers
Using a broad putty knife, apply a generous layer of joint compound over the patch and taped seams. Feather the edges out wide to blend it into the existing surface.
Let it dry completely, then apply 1–2 additional coats, sanding lightly between each layer to build a smooth, invisible finish.
Step 7: Sand, Prime and Paint
Once your final coat of compound is dry and sanded flat, wipe away dust and apply primer to the entire area. This seals the repair and ensures even paint coverage.
Finish with a fresh coat of matching paint, and voilà — you’d never know there was a hole there at all.
Big holes might look intimidating, but with a bit of effort and care, you can restore your wall like new. Still not confident? This is the type of job Southern Ceiling Repairs handles every day — sometimes calling the pros is the best DIY decision you’ll ever make.
Wall damage got you down? Let our team patch it right the first time.

Tips for a Professional Finish
- Feather the Edges: Always feather the edges of the joint compound to create a seamless blend.
- Use Primer: Priming ensures the repaired area doesn’t stand out after painting.
- Match Paint Colours: Use leftover paint from the original wall or get a colour match from your local hardware store.
- Work in a Well-Ventilated Area: Joint compound and paint can emit fumes, so ensure good ventilation while working.
- Practice Patience: Allow each layer of compound to dry completely before sanding or painting.
Repairing holes in walls can seem daunting at first, but with the right tools, materials, and methods, it’s a manageable DIY task. By following the step-by-step instructions outlined above, you can tackle small, medium, and large holes with confidence. Not only will this save you money on professional repairs, but it also gives you the satisfaction of maintaining your home.
Take the time to gather your tools, follow the steps carefully, and enjoy the transformation as your walls look as good as new. Happy repairing!
